GGx Stadium
How to assemble the GGx Stadium
The pitch
The GGx Stadium is quick and easy to assemble. It can be set up on any minimally smooth surface, from a large enough table to the floor. If the chips can slide, any place is good for a match. Easy and quick to disassemble, in no time the match is on, played, and packed up before having to clear the table or go to bed. The playing pitch measures 71x109 cm, but when packed, it fits in a small box. The dimensions of the playing pitch are scaled according to UEFA Category 4 stadiums.
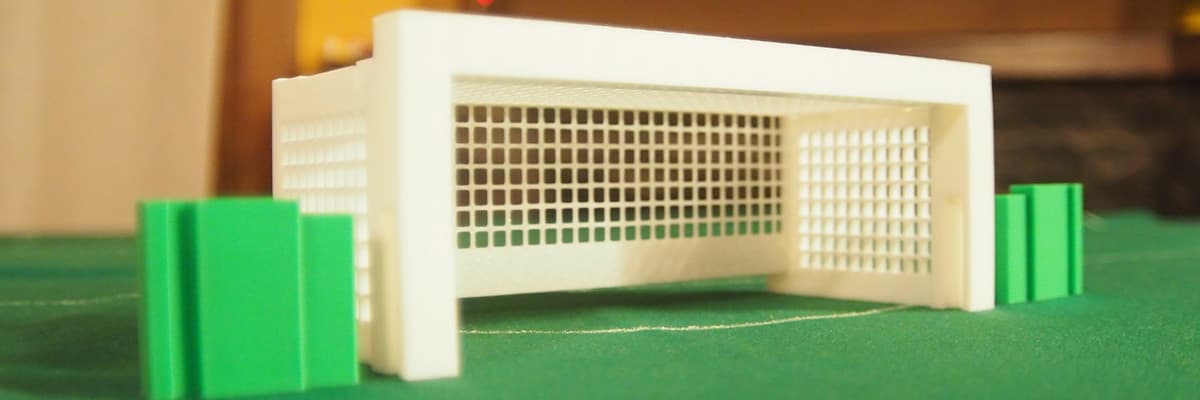
This is the third version of the goal. Now it fits much better with the rest of the pitch.
The standard GGx Stadium consists of 4 end fences, 10 side fences, 2 goals, 4 goal connectors, 12 fixers, and 4 corner fixers. In general, these are very durable pieces. The fixers might be the most likely to break, so it's always a good idea to have a few spares. Among the side bars, some are special: They are accessory bars with two small attachment points for mounting a scoreboard or other accessories.
How to assemble the pitch fences
No outs in GGx! The fences with the inscription GRANGOL.COM are placed on the sides of the goal, one on each side of the goal. Each one is connected on one side to the goal support fence and on the other to the white corner connector. On each side of the pitch, there are 5 fences.
How to assemble the goals
The goals consist of 5 pieces: The three posts, 2 side nets, the top net, and the back net. Also, keep in mind the two attachment fences. See the following photos to understand how to assemble them:
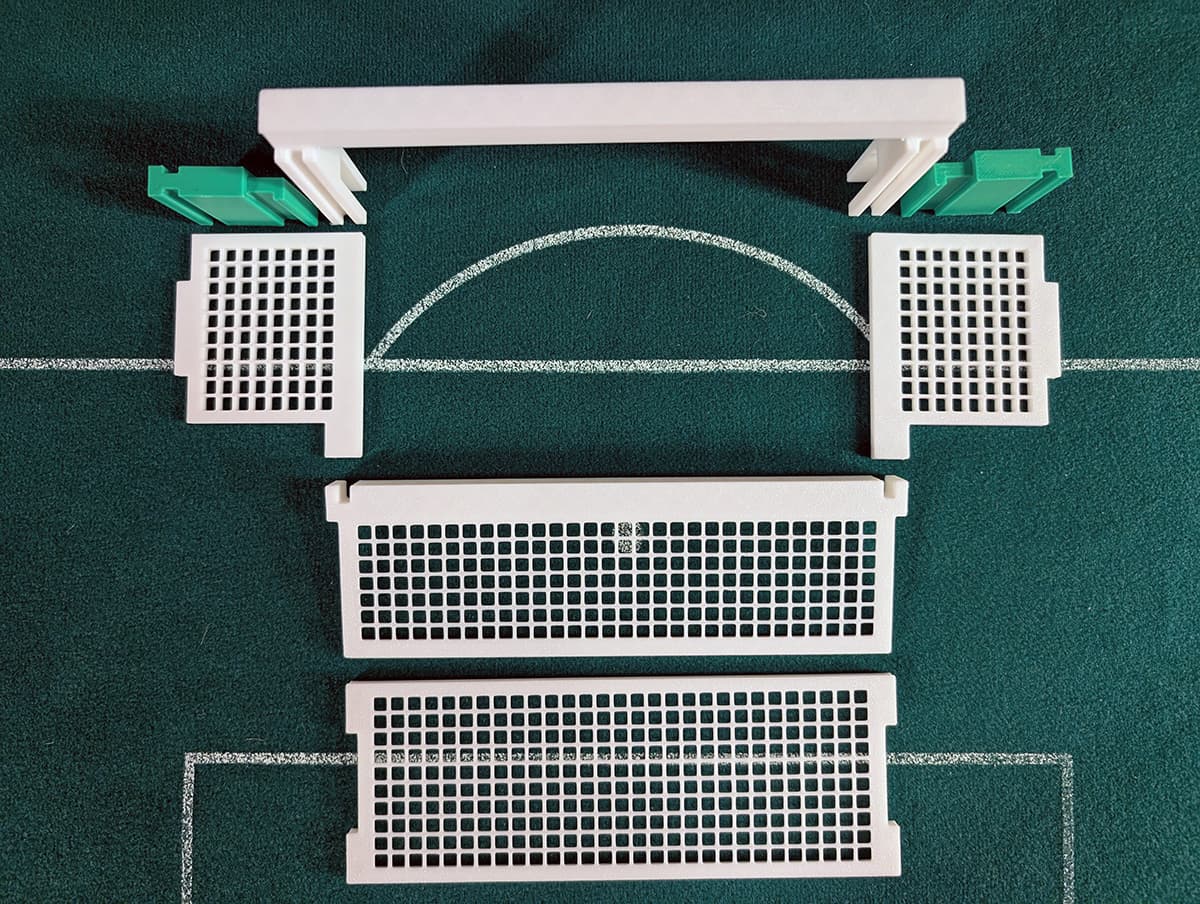
The goals are made of 5 pieces.
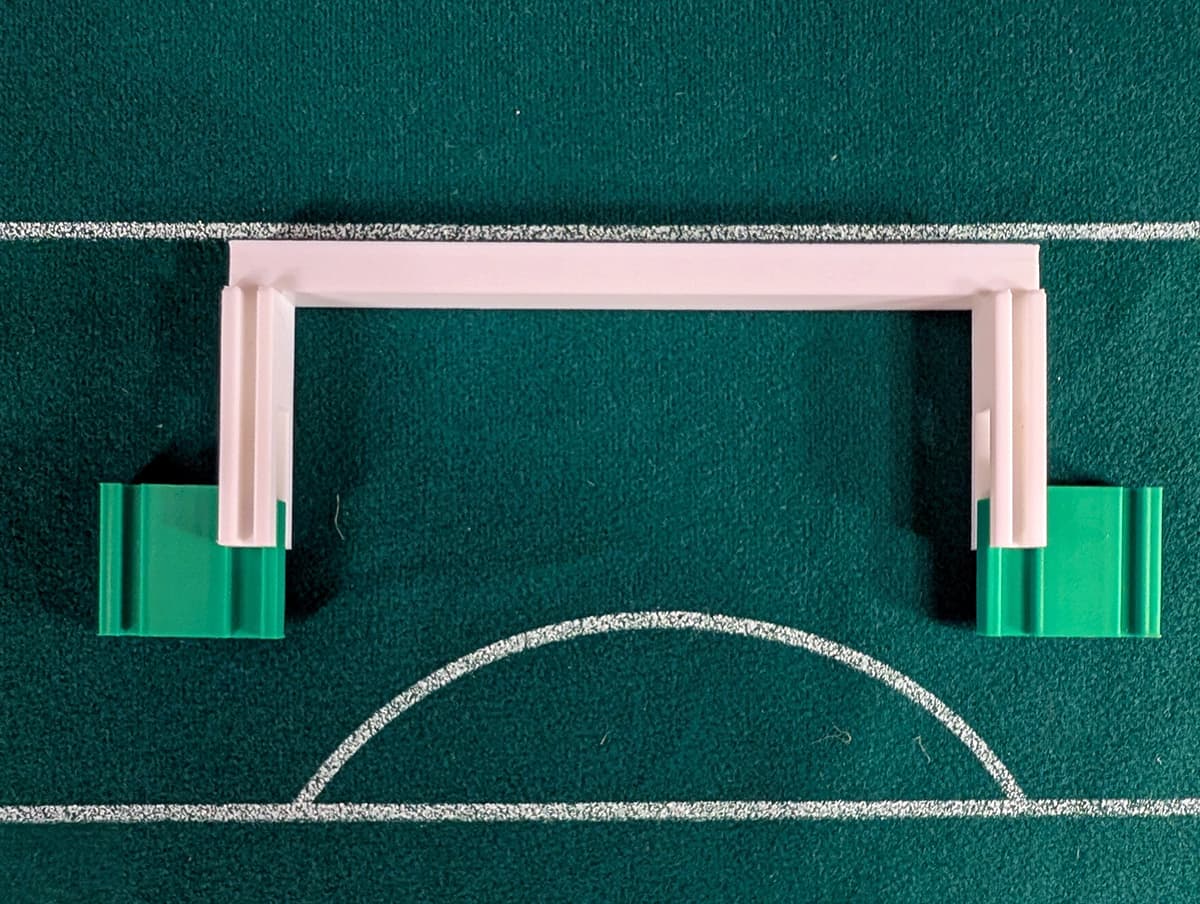
The notch of the fixers faces outward from the pitch.
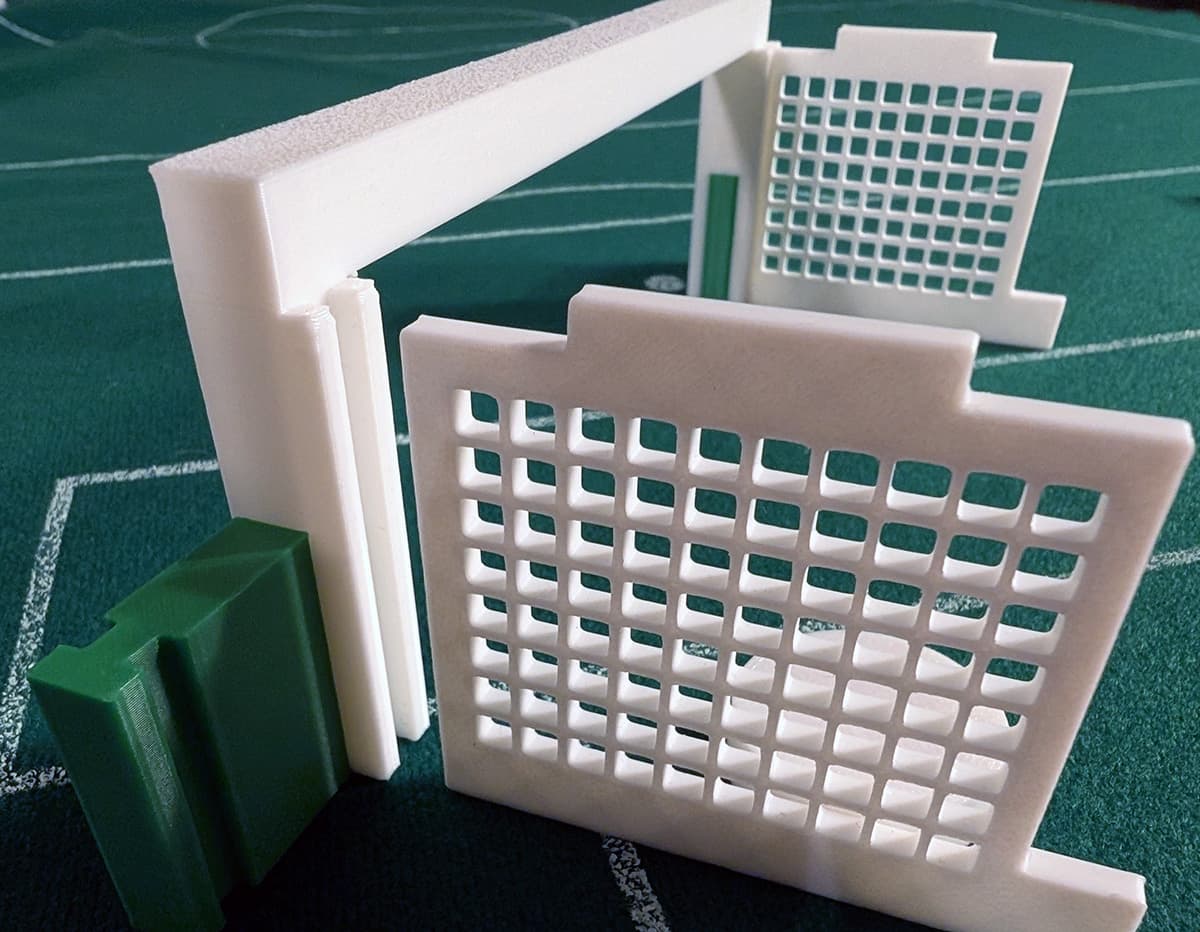
First, attach the side nets.
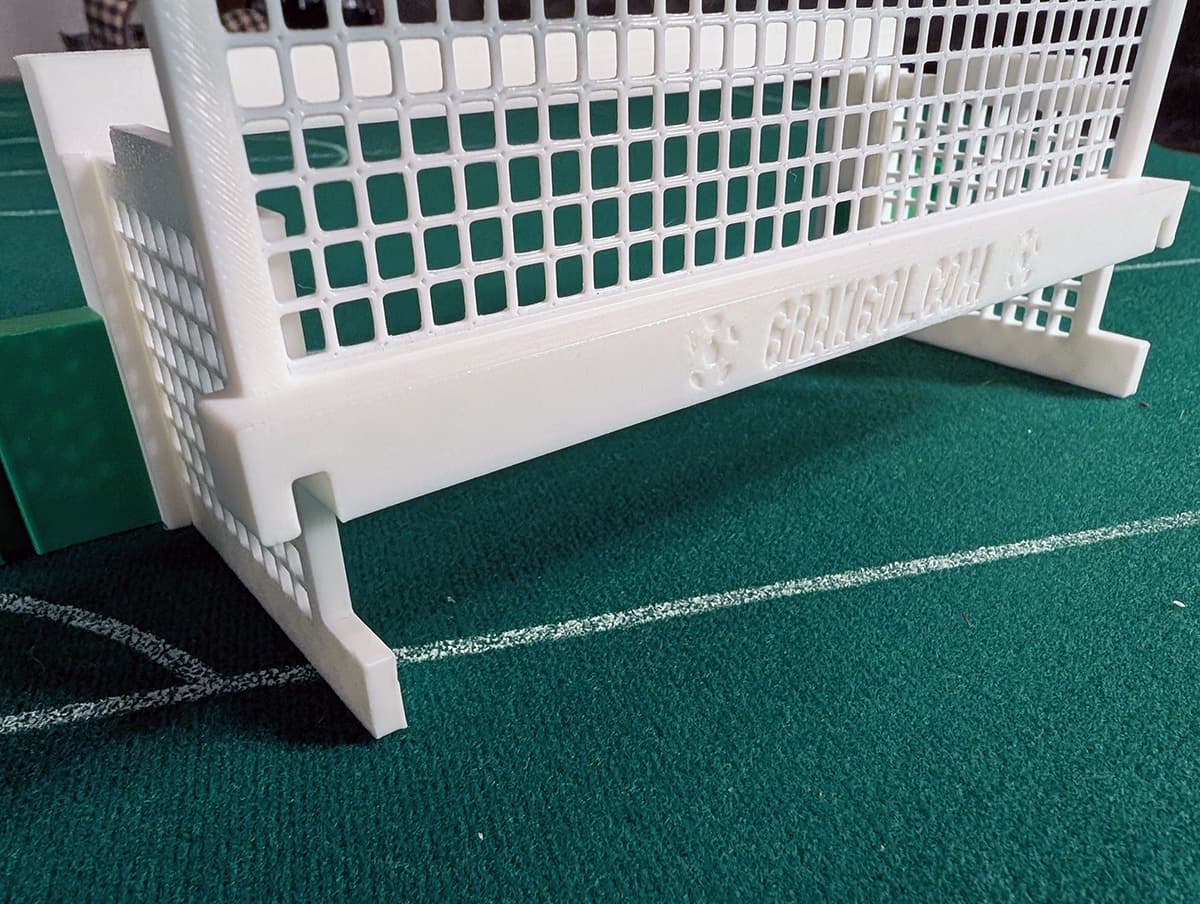
Next, attach the back of the goal.
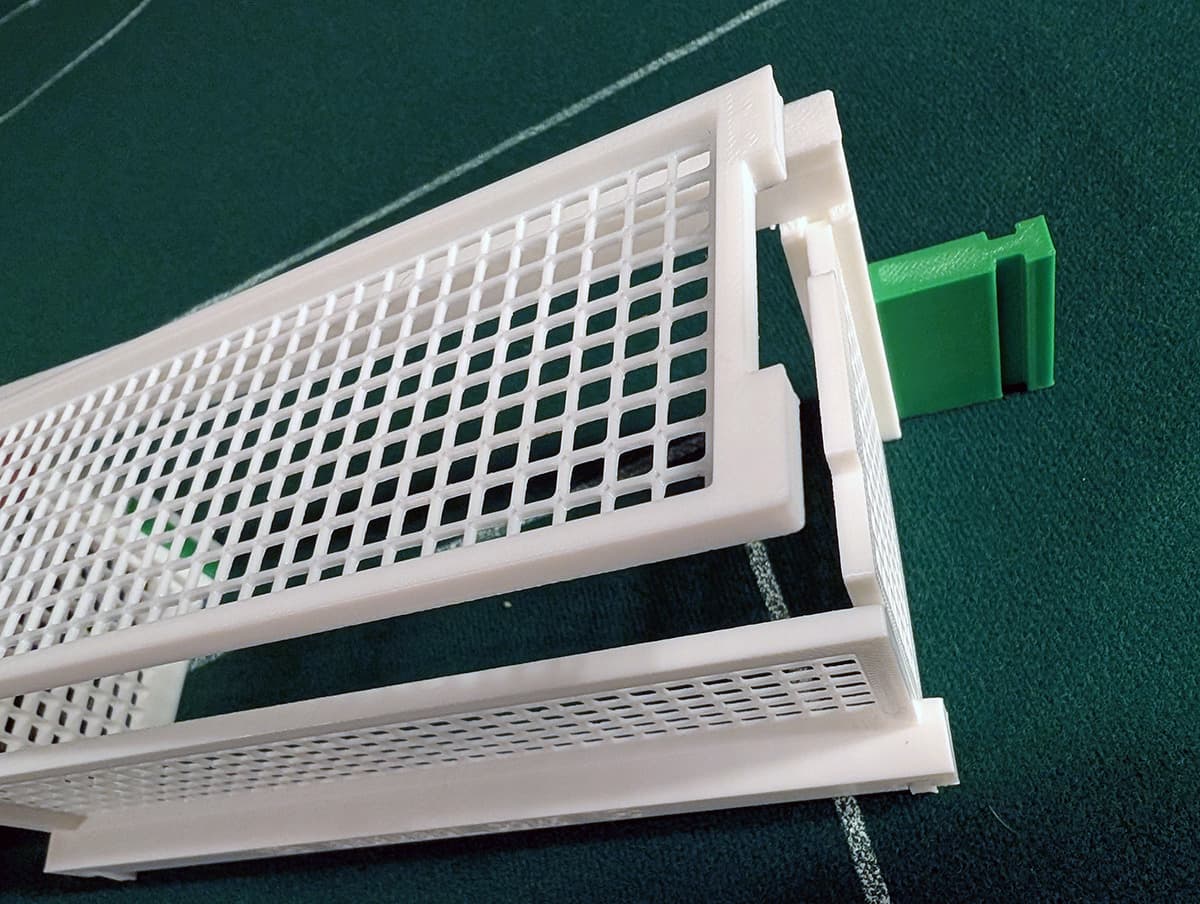
Finally, attach the top net.
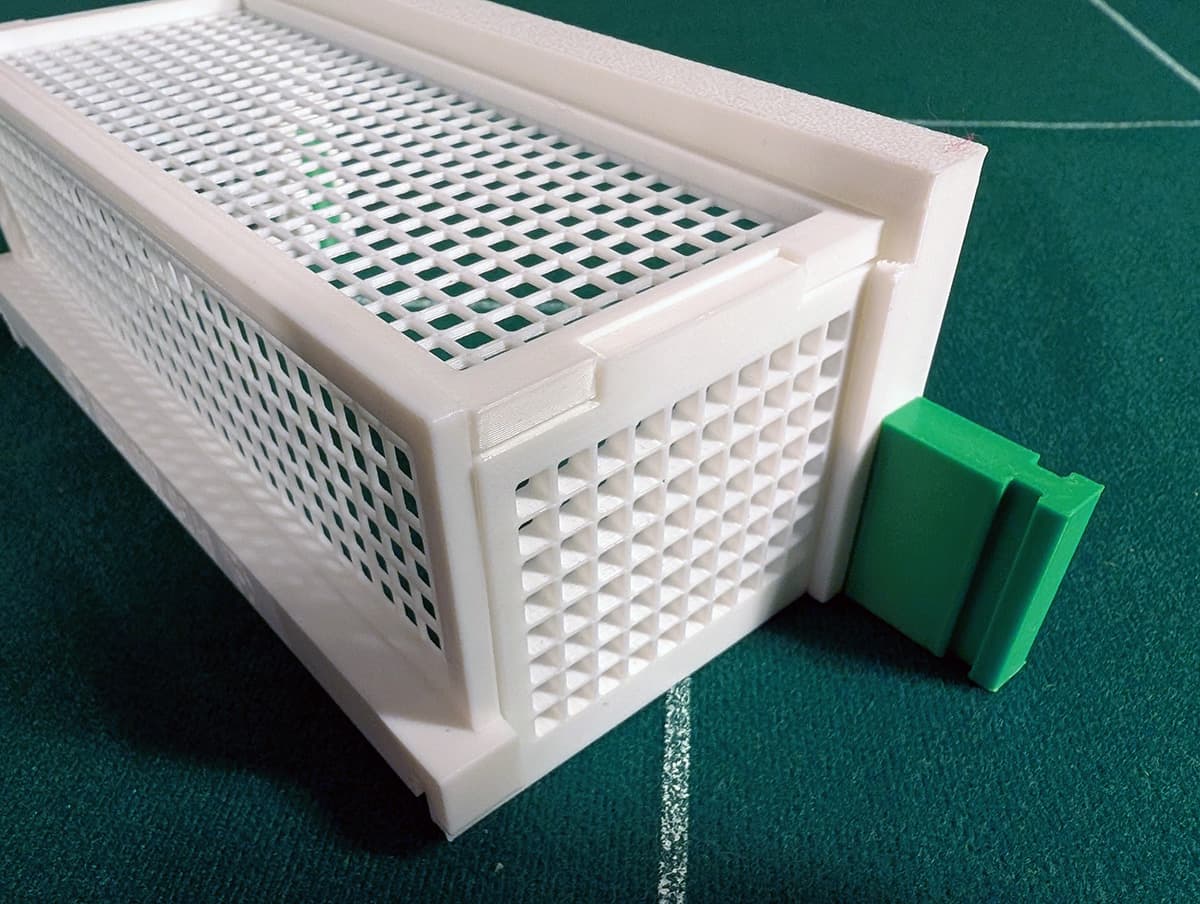
The goal is now ready to play the match!
Ready to play football!